 After Anet A8 Prusa I3 Clone and other gadgets, I bought an Arduino Uno controlled “T8 CNC” machine that will be used for PCB milling and learning GCODE. Hope my link pool and photos will help you building up your Arduino CNC since there is no official assembly instruction available.
This instructions will give a slight overview how to assemble the device and avoid mistakes during assembly. On later blog posts I will write about flashing the latest GRBL firmware using Arduino IDE, improvements, other extensions and a short instruction about how to mill pcb plates designed in EAGLE.
Assembly
You may want to make use of community written instructions. Concerning DIY sets from Asia, I recommend checking the package for completeness right after delivery. Even there are slight differences of parts being delivered over time, watching some unboxing video is always helpful. The package shown in the video is similar to the package I got from Gearbest (bought on February 2017 for around 170 EUR).
These helped me building up my unit:
- General overview, available in german aswell
https://youtu.be/docu7RM4Tm0 - Assembly linked on Gearbest aswell
https://youtu.be/lNEeP9GO5nA - Homofaciens assembly site (found later, well done, available in german aswell)
http://homofaciens.de/technics-machines-cnc-T8_en.htm
Assembly experiences
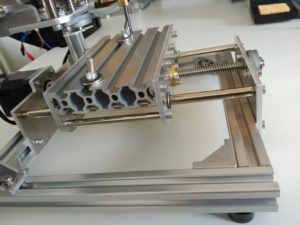
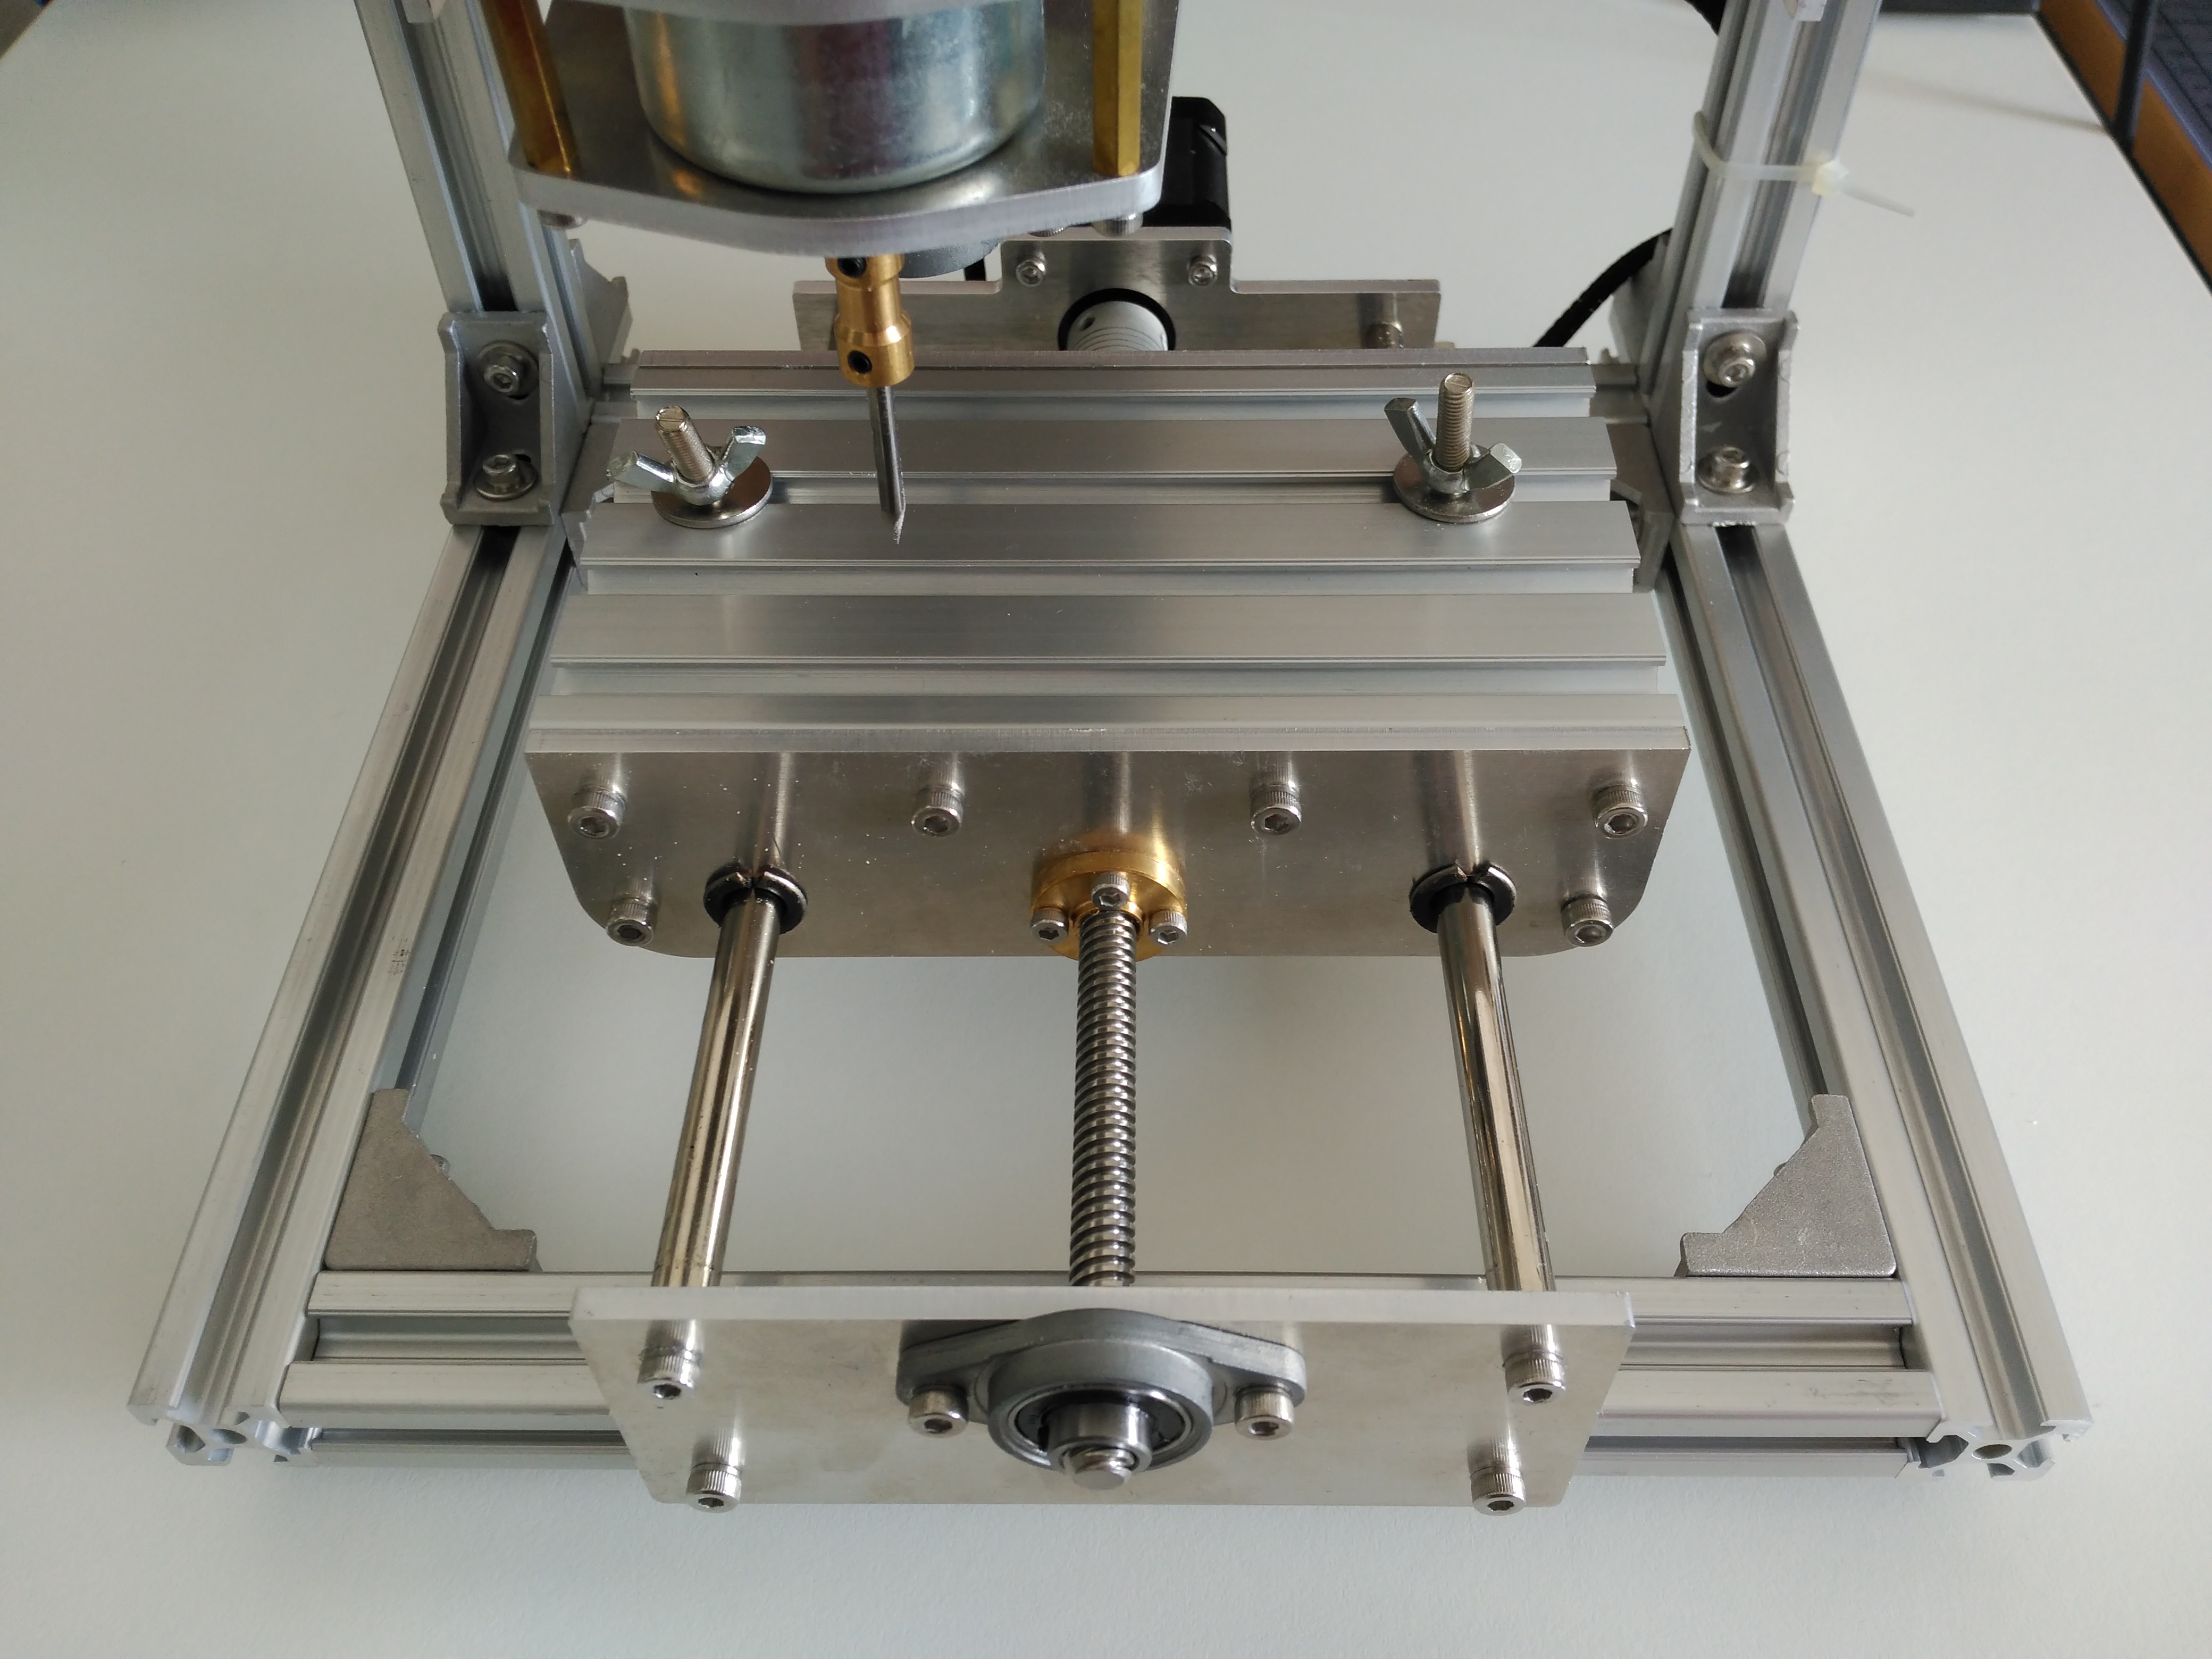
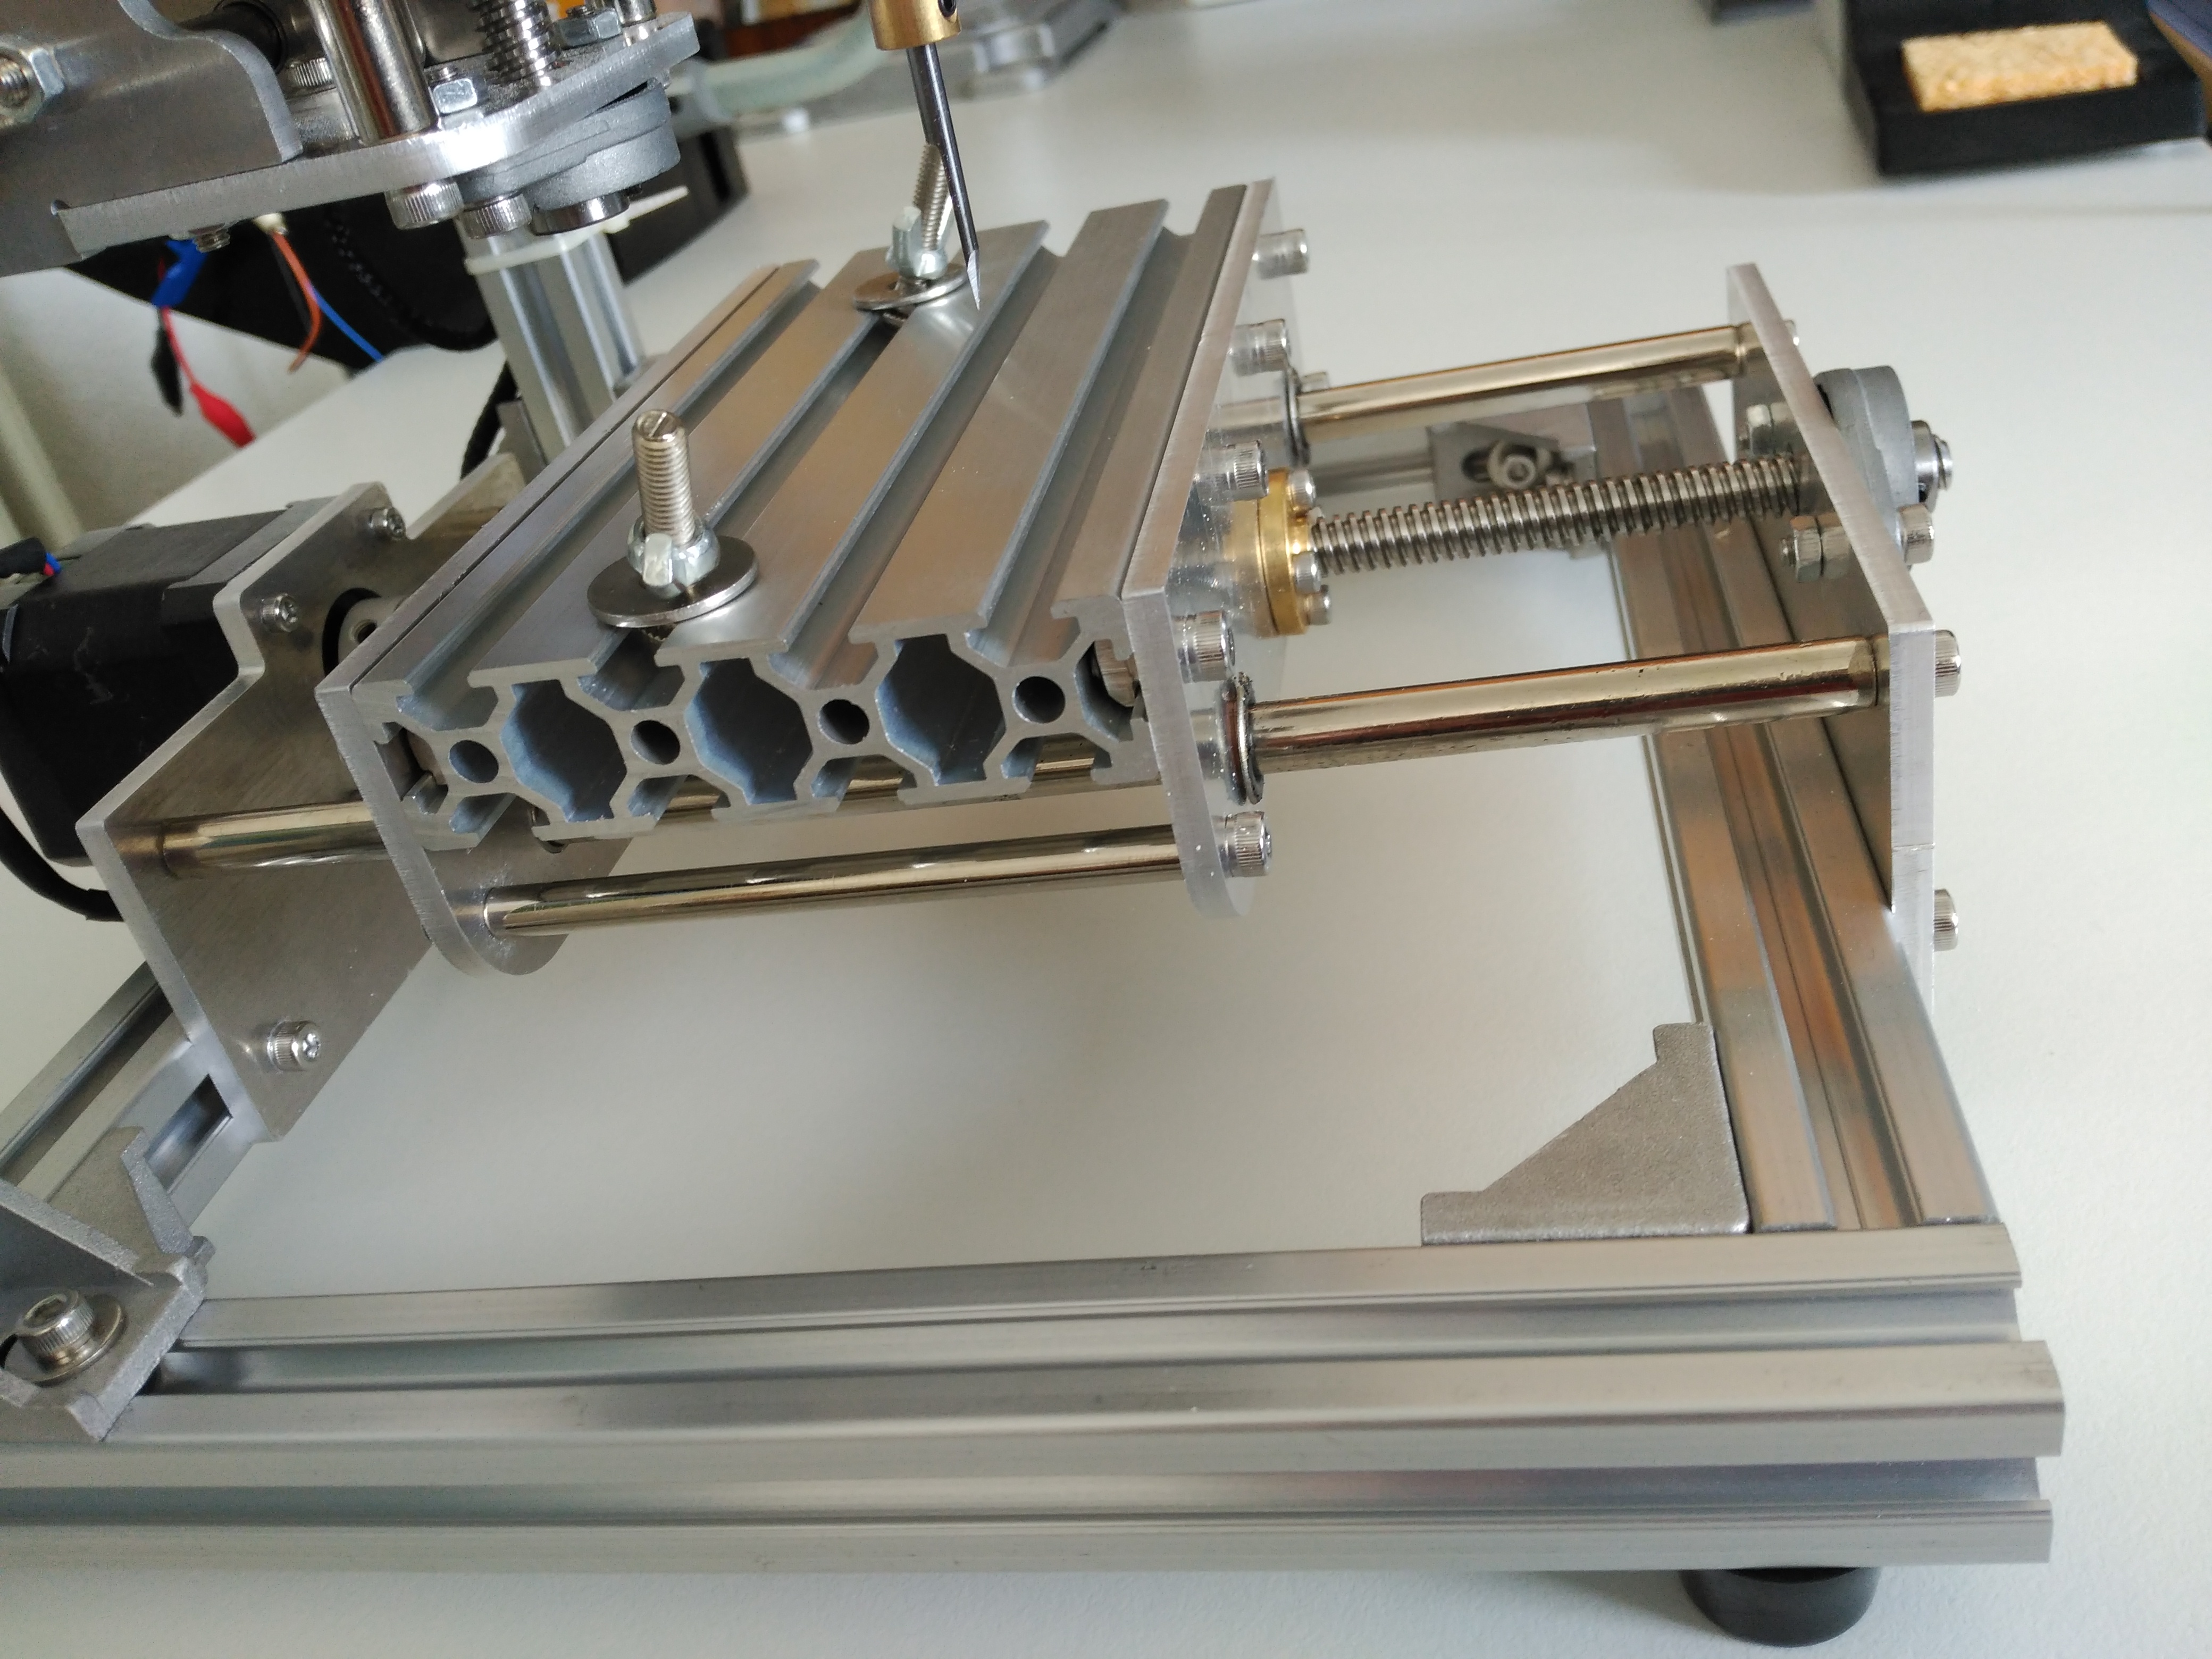
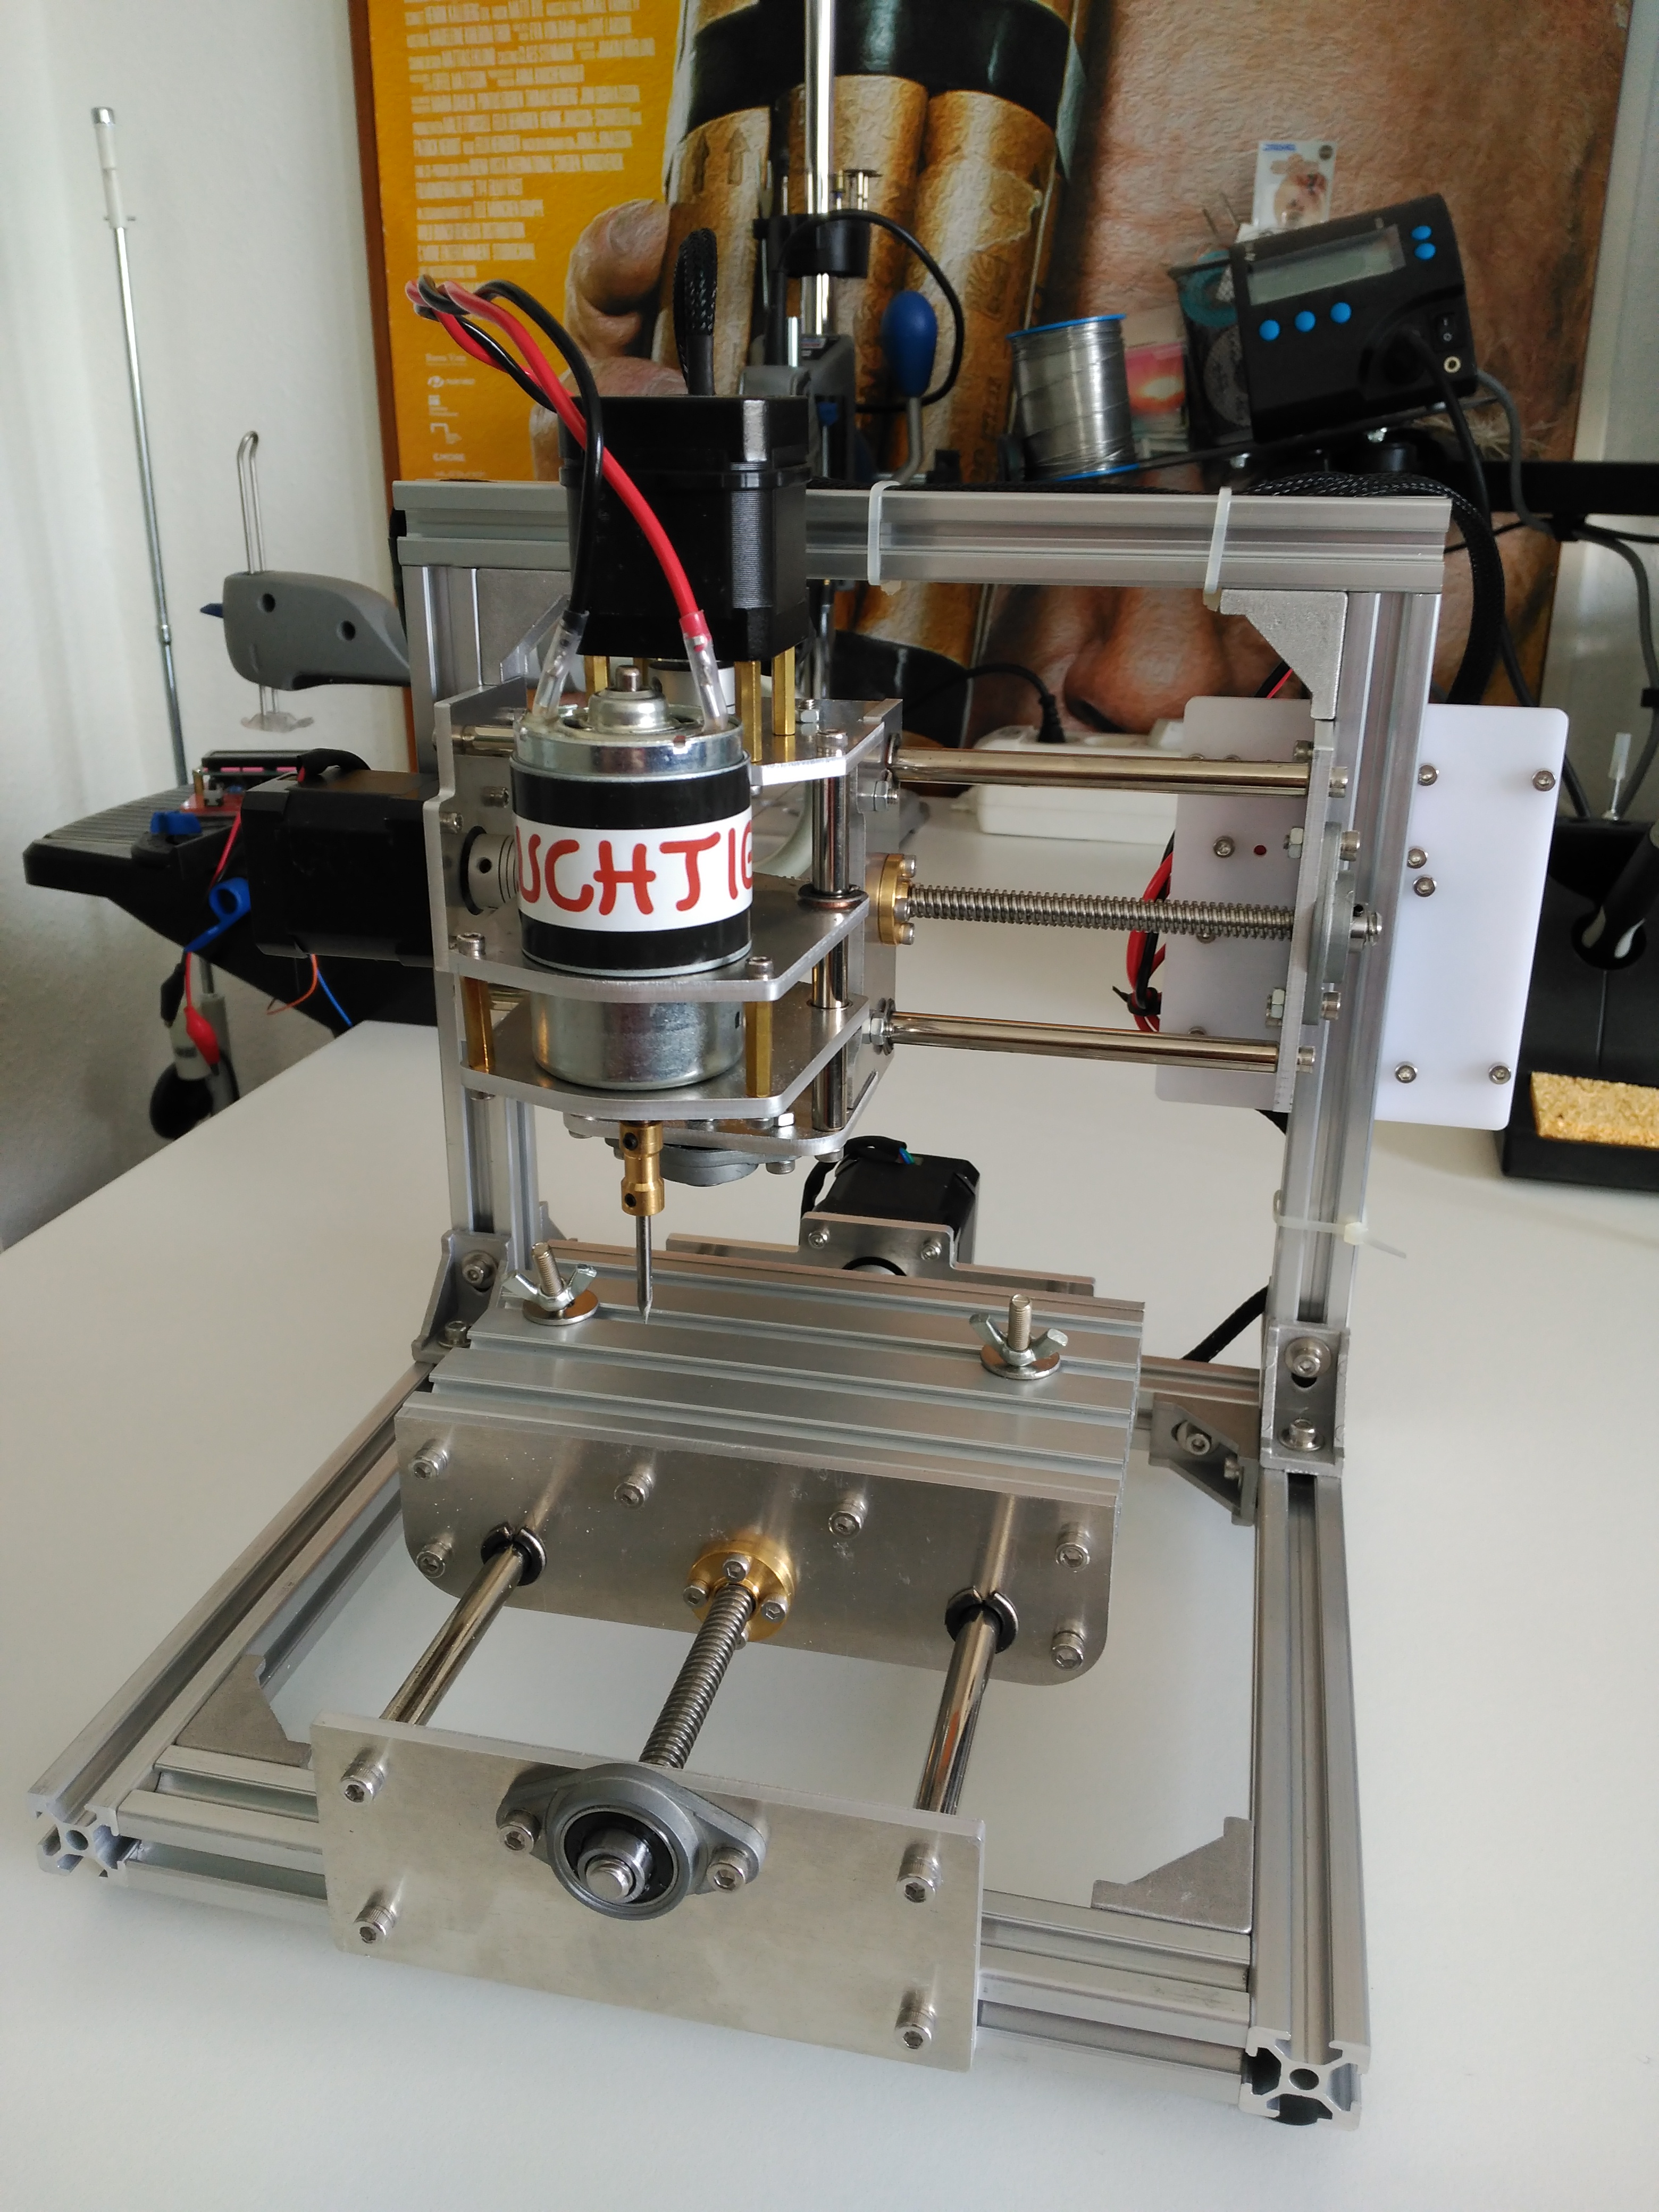
- Front and backplate for the Y-axis: I mounted this plate in front of the scaffolding and move the rod on the back a bit forward (look at my photos).
So you have much more workspace for milling. Luckily this idea was also applied by Homofaciens having the same idea.
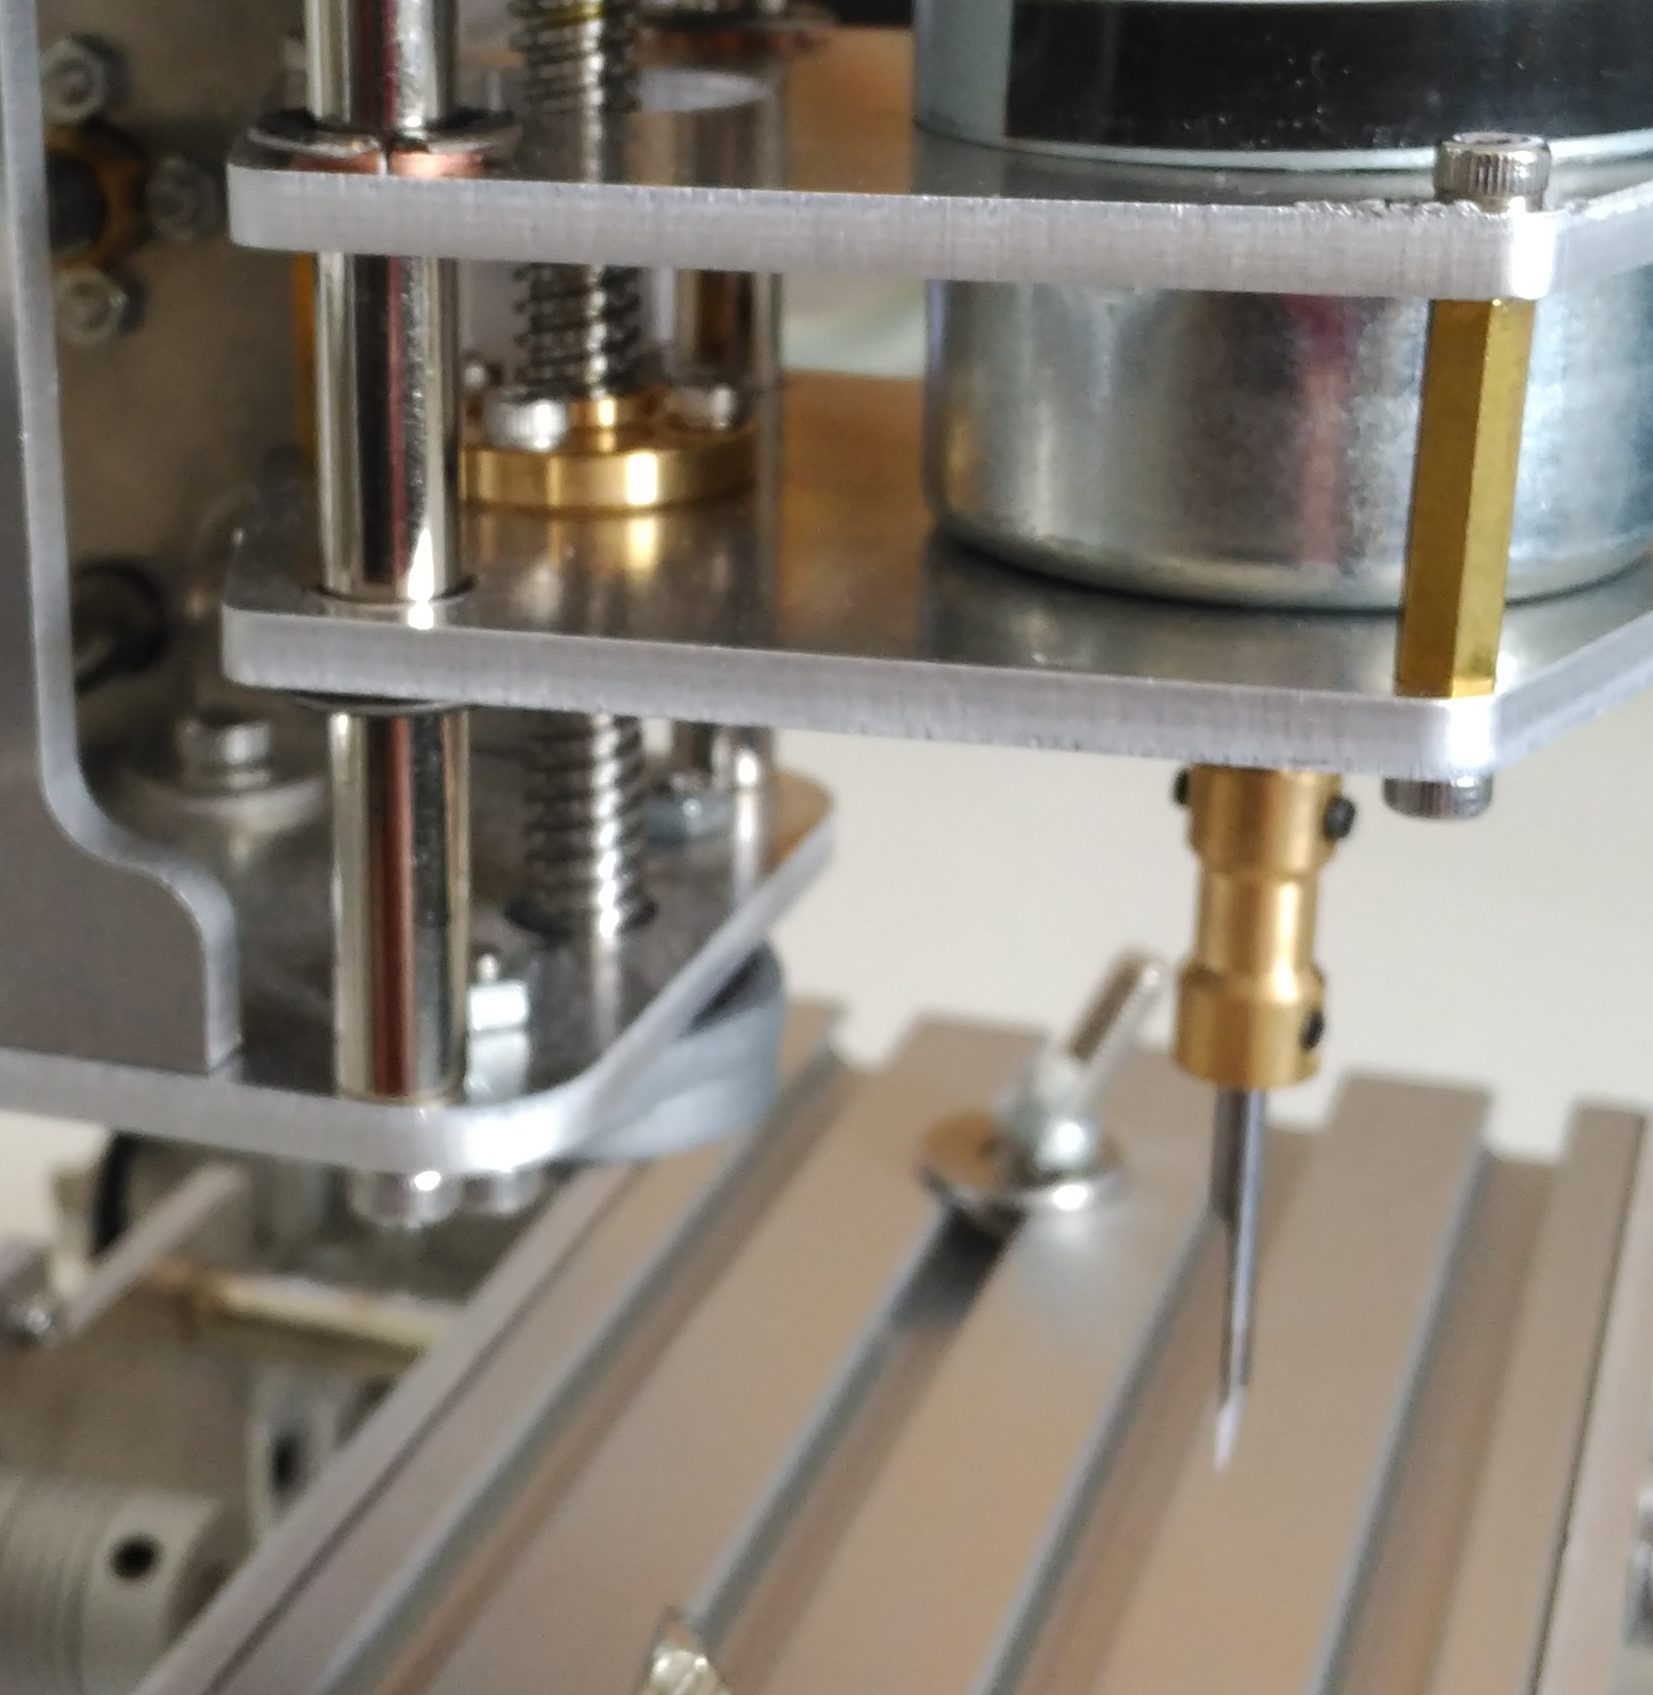
- Be careful with the bearings. Sometimes the rod does not fit with the bearings and you might need some force (using hammer). Make sure you have got a proper stand.
- Make use of heat-shrinking tubing and braided cable sleeving (nylon) Aliexpress: cable sleeving
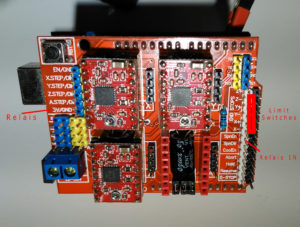
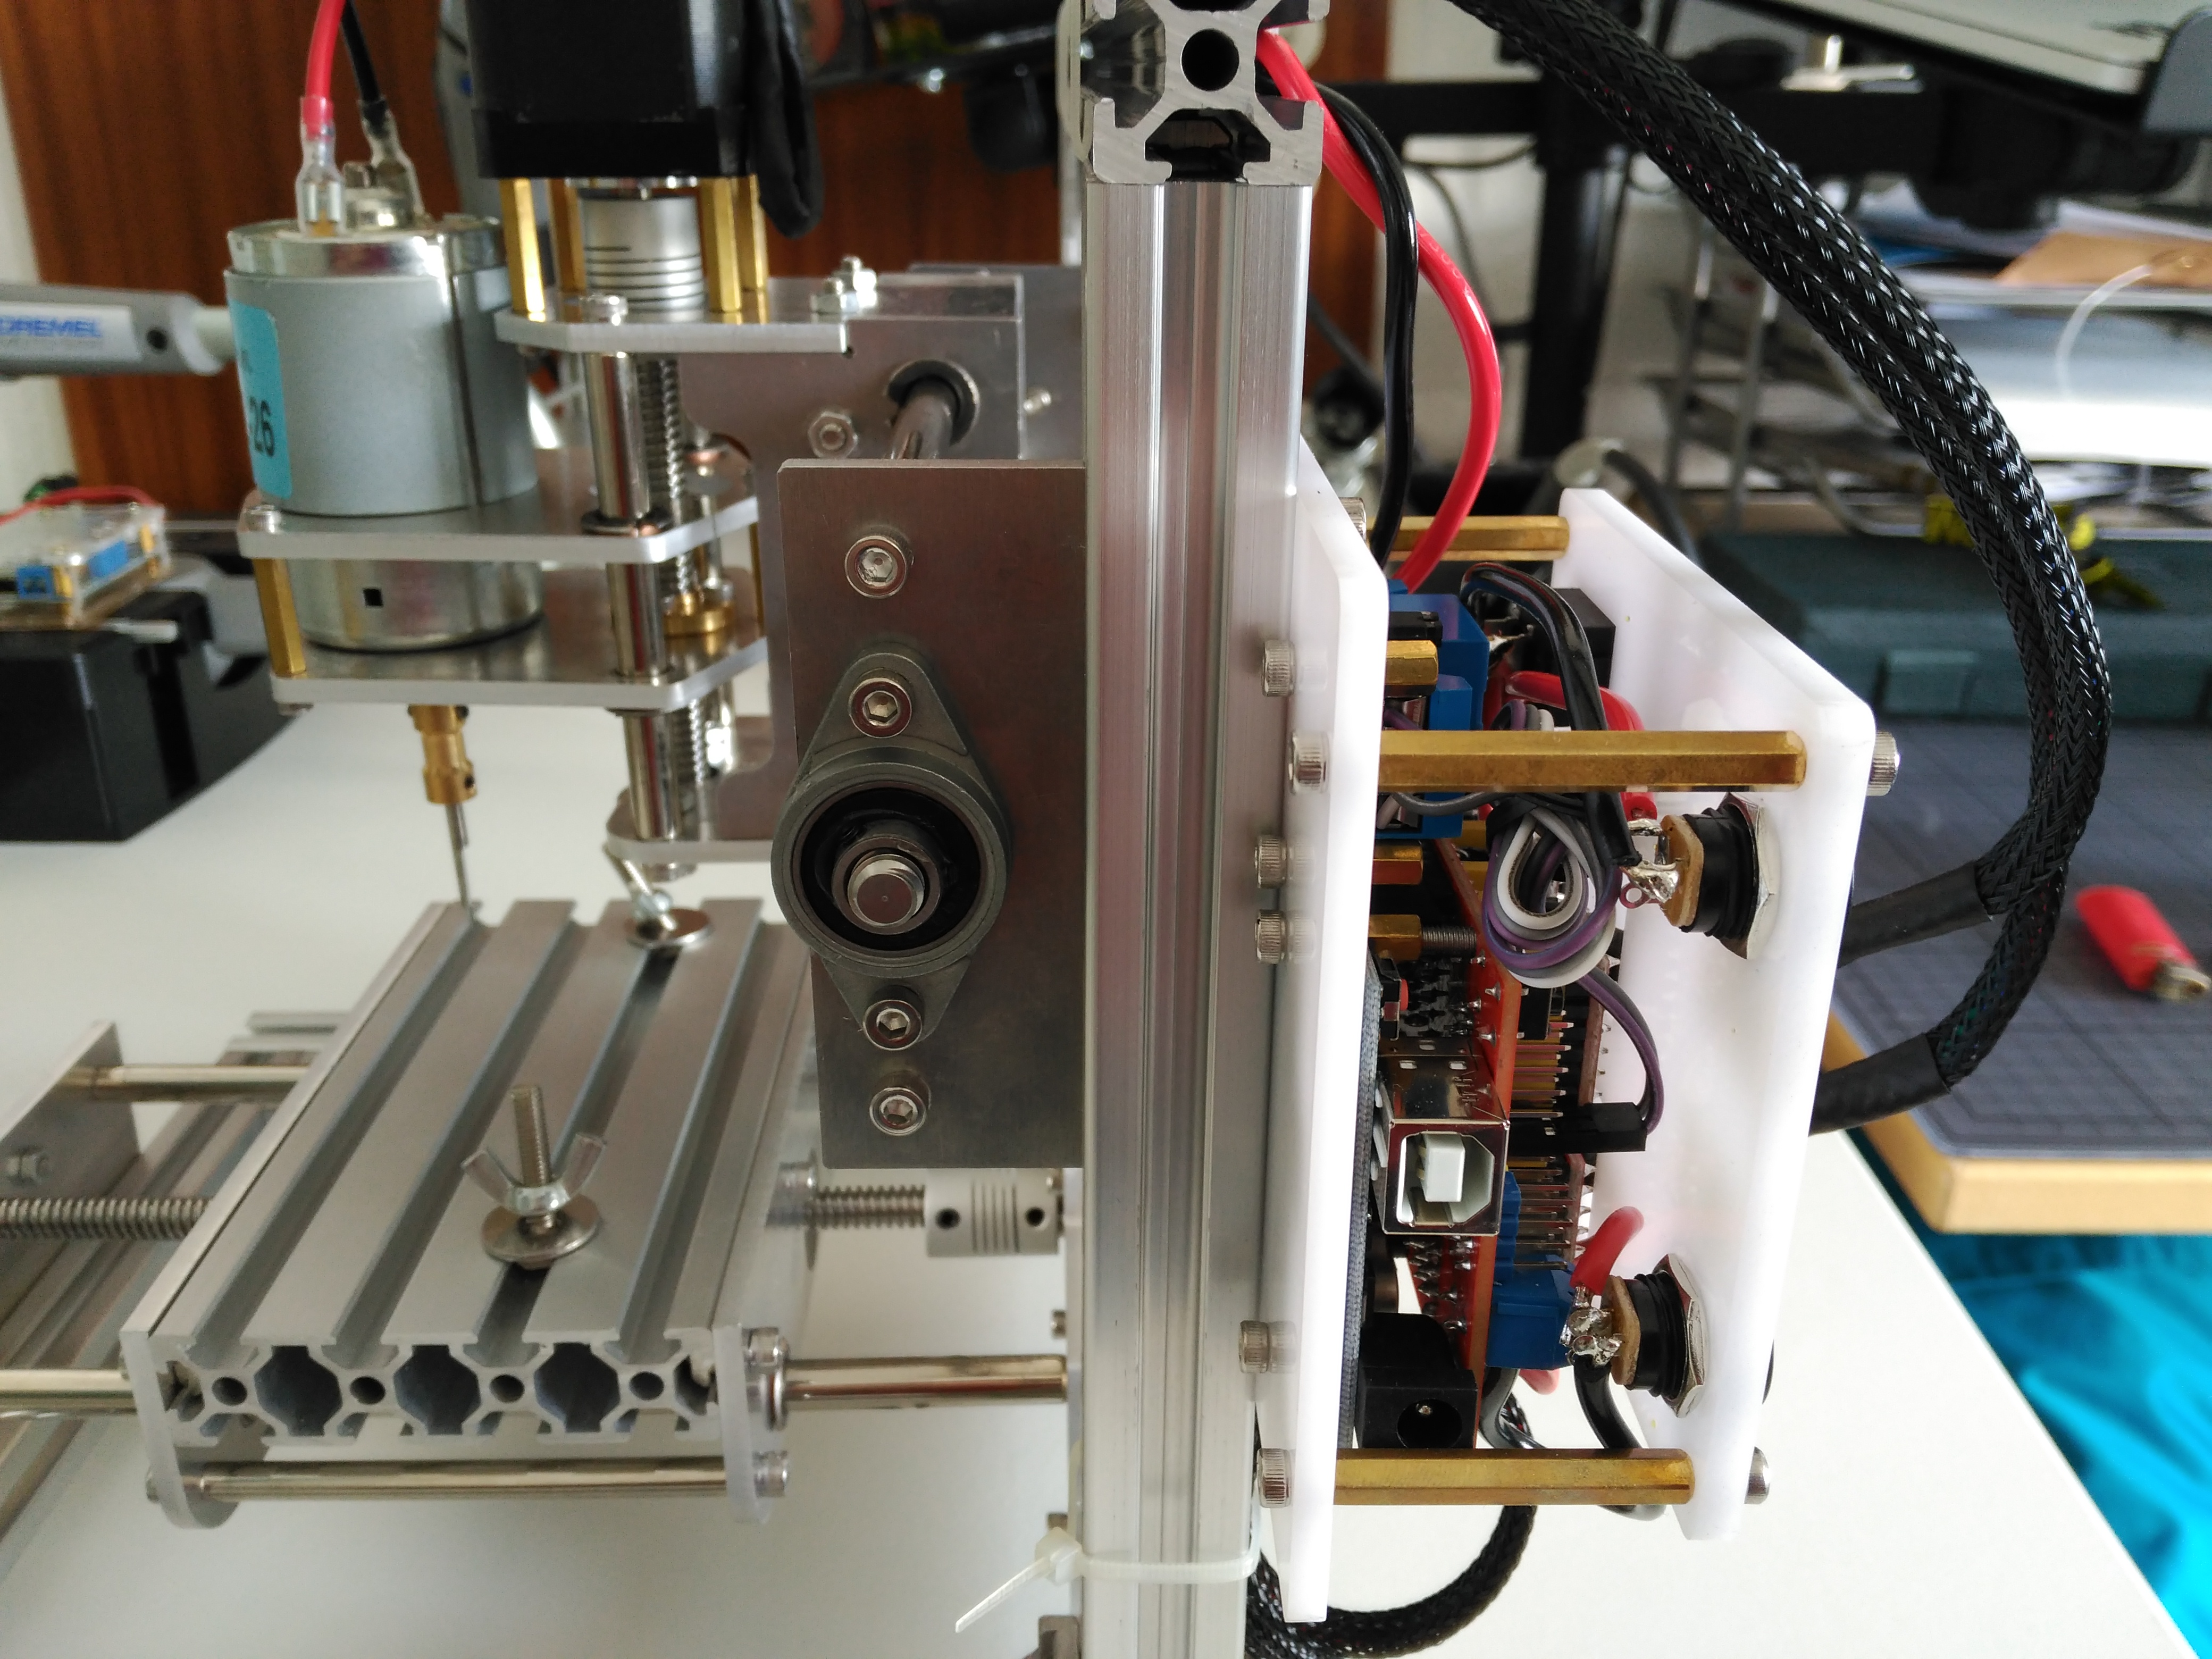
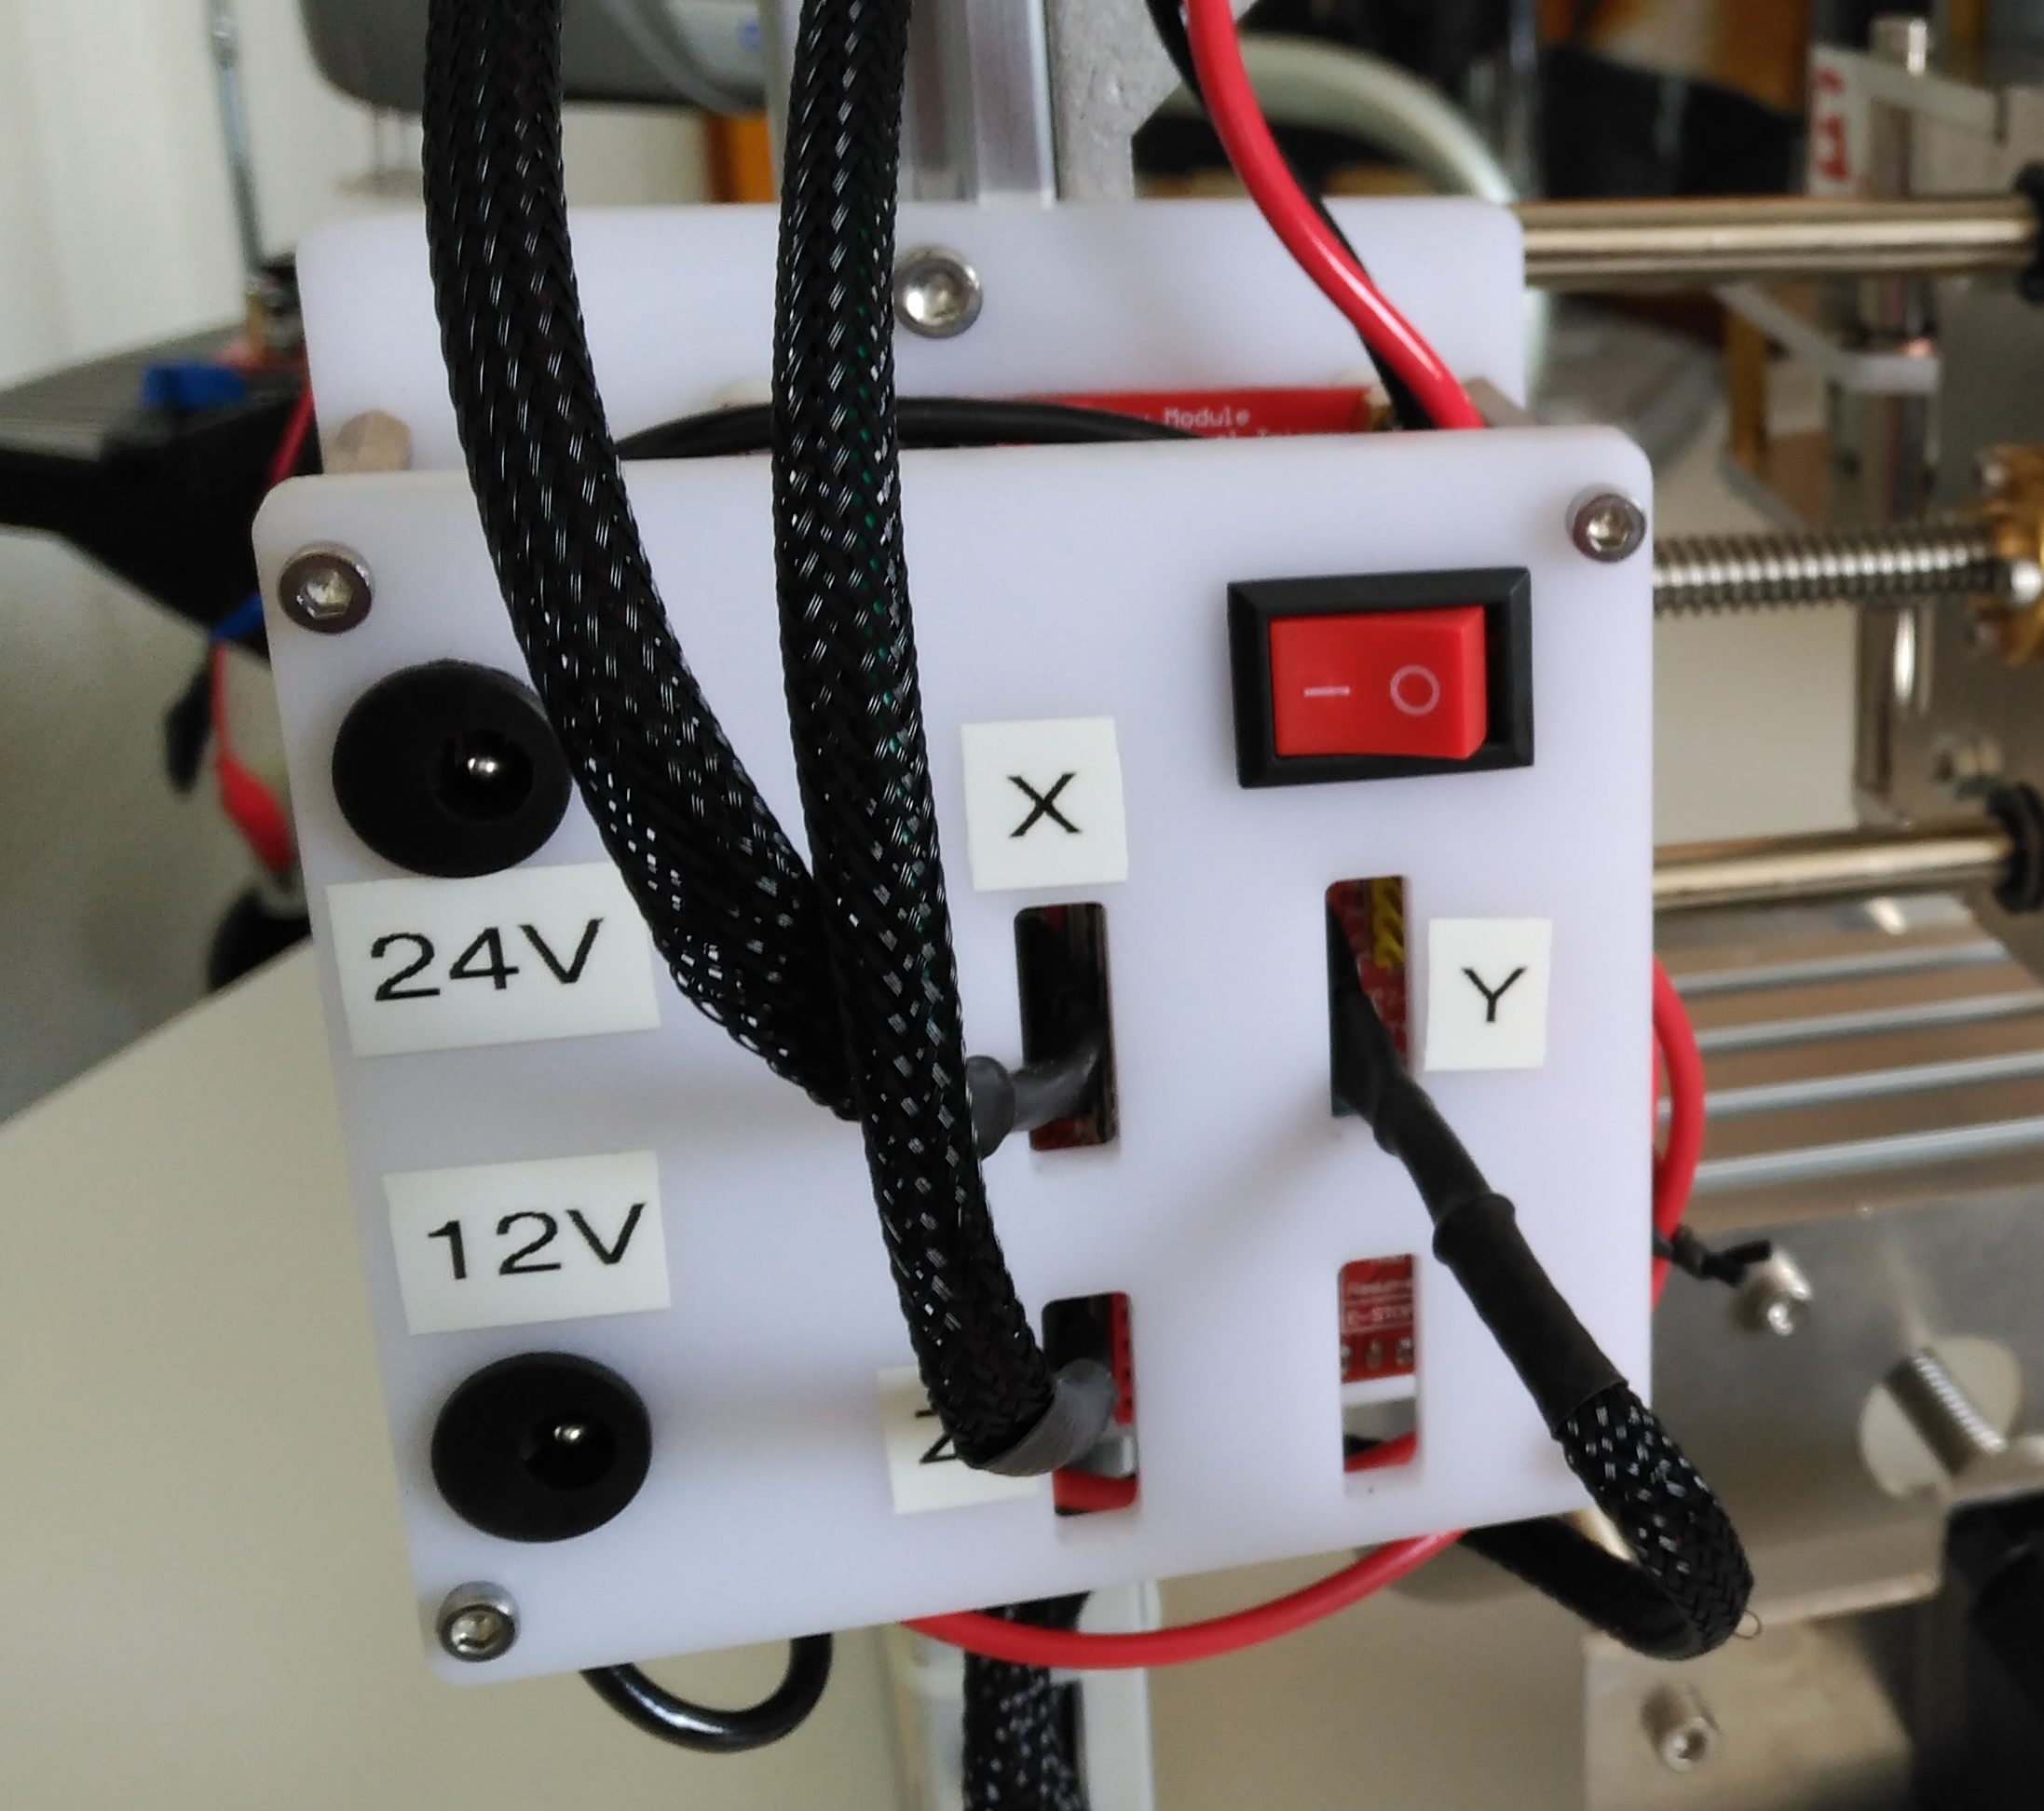
- The backplate for Arduino, CNC shield, switch and power connectors might be assembled like this:

I connected the red powerswitch with the 12V input, since the Arduino gets powered by USB connection. Perhaps it will be replaced soon by an emergency button. - The relais is attached as shown on the picture. Limit switches will be applied later since this involves firmware configuration.
- There will be some spare parts afterwards 🙂
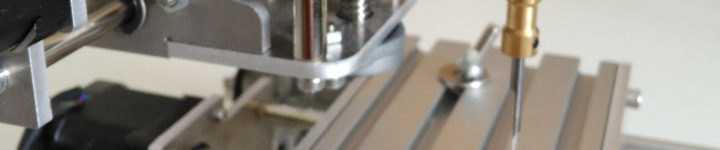
Photos


Great content, do you have any idea how to get the software to run it?
Hello!
Thank you very much for the great photos and advices.
I just got one T8-cnc, good quality, everything great but none, whatsoever instructions… 🙁
Thanks to your good instructions I have managed to assembly most of it! Thank you!